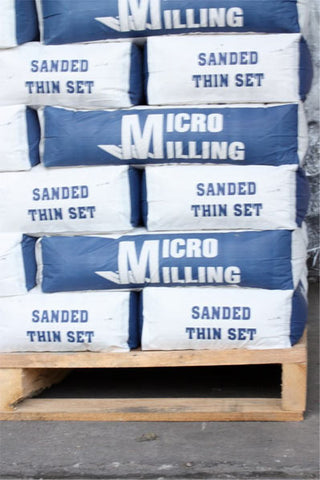
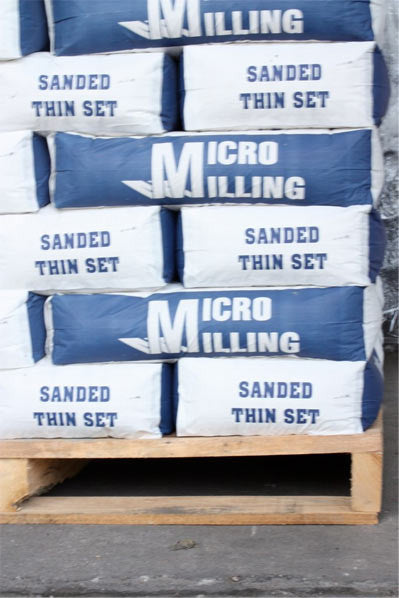
Champagne Micro Milling Sanded Grout


Related Products
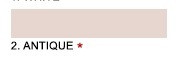
Antique Micro Milling Sanded Grout
Thinset, mirco milling thinset, premium thinset, porcelain thinset, micro thinset, grout, micro milling grout

Antique Micro Milling Sanded Grout
$54.00
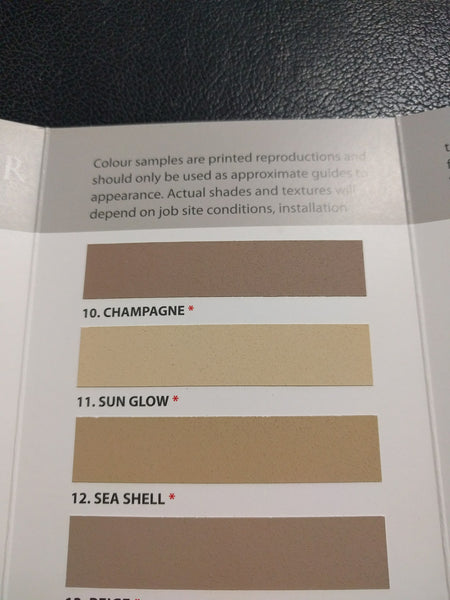
Colour samples are printed reproductions and should only be used as approximate guides to appearance. Actual shades and texture will depend on job site conditions, installation techniques, tile characteristics and other factors beyond the manufacturer's control. Verify appearance with a test area before main installation commences. M...

Beige Micro Milling Sanded Grout
Thinset, mirco milling thinset, premium thinset, porcelain thinset, micro thinset, grout, micro milling grout
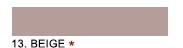
Beige Micro Milling Sanded Grout
$126.00
Colour samples are printed reproductions and should only be used as approximate guides to appearance. Actual shades and texture will depend on job site conditions, installation techniques, tile characteristics and other factors beyond the manufacturer's control. Verify appearance with a test area before main installation commences. M...

Black Micro Milling Sanded Grout
Thinset, mirco milling thinset, premium thinset, porcelain thinset, micro thinset, grout, micro milling grout

Black Micro Milling Sanded Grout
$54.00
Colour samples are printed reproductions and should only be used as approximate guides to appearance. Actual shades and texture will depend on job site conditions, installation techniques, tile characteristics and other factors beyond the manufacturer's control. Verify appearance with a test area before main installation commences. M...

Caramel Micro Milling Sanded Grout
Thinset, mirco milling thinset, premium thinset, porcelain thinset, micro thinset, grout, micro milling grout
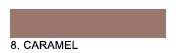
Caramel Micro Milling Sanded Grout
$54.00
Colour samples are printed reproductions and should only be used as approximate guides to appearance. Actual shades and texture will depend on job site conditions, installation techniques, tile characteristics and other factors beyond the manufacturer's control. Verify appearance with a test area before main installation commences. M...

Chocolate Micro Milling Sanded Grout
Thinset, mirco milling thinset, premium thinset, porcelain thinset, micro thinset, grout, micro milling grout

Chocolate Micro Milling Sanded Grout
$54.00
Colour samples are printed reproductions and should only be used as approximate guides to appearance. Actual shades and texture will depend on job site conditions, installation techniques, tile characteristics and other factors beyond the manufacturer's control. Verify appearance with a test area before main installation commences. M...

Jade Micro Milling Sanded Grout
Thinset, mirco milling thinset, premium thinset, porcelain thinset, micro thinset, grout, micro milling grout

Jade Micro Milling Sanded Grout
$54.00
Colour samples are printed reproductions and should only be used as approximate guides to appearance. Actual shades and texture will depend on job site conditions, installation techniques, tile characteristics and other factors beyond the manufacturer's control. Verify appearance with a test area before main installation commences. M...

Micro Milling Premium Thinset (Grey)
Thinset, mirco milling thinset, premium thinset, porcelain thinset, micro thinset, grout, micro milling grout
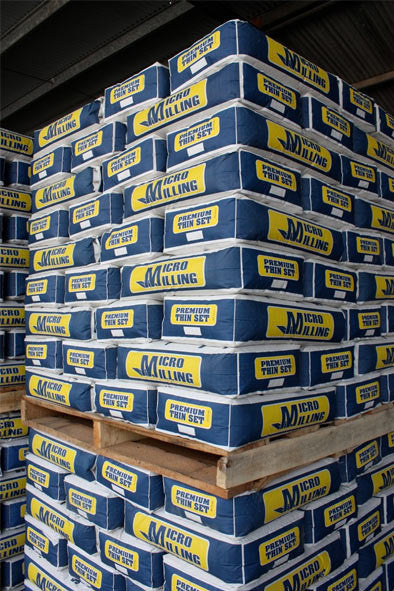
Micro Milling Premium Thinset (Grey)
$95.00
Micro Milling Premium Thin Set is a blend of Portland Cement, Graded Sand and Special additives (Including redispersable polymers which are designed to improve adhesion, reduce water absorption, provide greater bond strength, and resistance to shock and impact) manufactured under stringent controls to ensure consistency and quality. It was devel...
Micro Milling Regular Thinset (Grey)
Thinset, mirco milling thinset, premium thinset, porcelain thinset, micro thinset, grout, micro milling grout
Micro Milling Regular Thinset (Grey)
$49.00
Micro Milling Thin Set is a precision blend of Portland Cement, Processed Sand and special additives manufactured under stringent controls to ensure consistency and quality. It was developed using proven UK technology and has been successfully used on a number of projects in Trinidad and throughout the Caribbean. It meets the Tile Council of Ame...

Mocha Micro Milling Sanded Grout
Thinset, mirco milling thinset, premium thinset, porcelain thinset, micro thinset, grout, micro milling grout
Mocha Micro Milling Sanded Grout
$54.00
Colour samples are printed reproductions and should only be used as approximate guides to appearance. Actual shades and texture will depend on job site conditions, installation techniques, tile characteristics and other factors beyond the manufacturer's control. Verify appearance with a test area before main installation commences. M...

Natural Grey Micro Milling Sanded Grout
Thinset, mirco milling thinset, premium thinset, porcelain thinset, micro thinset, grout, micro milling grout

Natural Grey Micro Milling Sanded Grout
$54.00
Colour samples are printed reproductions and should only be used as approximate guides to appearance. Actual shades and texture will depend on job site conditions, installation techniques, tile characteristics and other factors beyond the manufacturer's control. Verify appearance with a test area before main installation commences. M...

Platinum Micro Milling Sanded Grout
Thinset, mirco milling thinset, premium thinset, porcelain thinset, micro thinset, grout, micro milling grout

Platinum Micro Milling Sanded Grout
$54.00
Colour samples are printed reproductions and should only be used as approximate guides to appearance. Actual shades and texture will depend on job site conditions, installation techniques, tile characteristics and other factors beyond the manufacturer's control. Verify appearance with a test area before main installation commences. M...

Salmon Micro Milling Sanded Grout
Thinset, mirco milling thinset, premium thinset, porcelain thinset, micro thinset, grout, micro milling grout

Salmon Micro Milling Sanded Grout
$54.00
Colour samples are printed reproductions and should only be used as approximate guides to appearance. Actual shades and texture will depend on job site conditions, installation techniques, tile characteristics and other factors beyond the manufacturer's control. Verify appearance with a test area before main installation commences. M...